How Can We Help?
Setting Up Your Enterprise Account
The following is a step-by-step guide to configuring your enterprise account with Jobiak. The account set-up is fairly straightforward, but we’ve created the following instructions in case you need help.
Thanks for choosing Jobiak – we’re excited to help you unleash the full recruiting power of Google!
Profile Update
Upon completing your account registration, you will be re-directed to the profile page (shown below). Please populate the fields in accordance with your organization’s preferences, and then click ‘Next’.
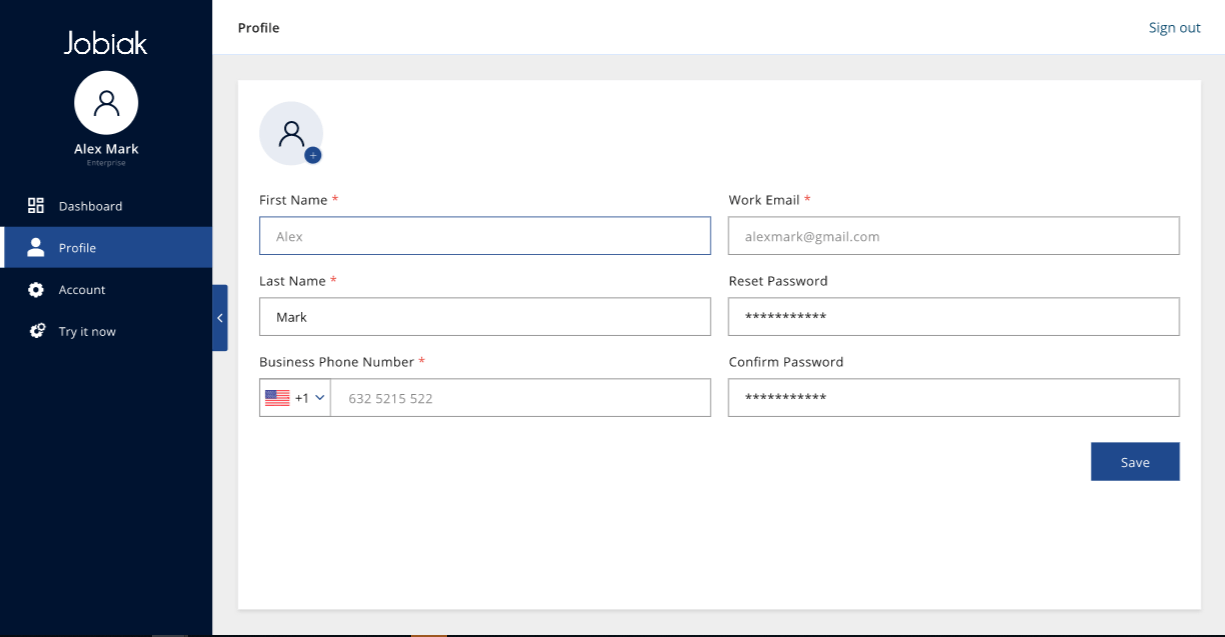
Note: The information you provide here will be used in the future for billing and invoicing purposes. Jobiak will direct all future communications (updates, notifications for new job applicants etc.) to the email address we have on file with your account.
Account Setup Section
Once you have completed the profile update, Please click on the “Account” section from the left-hand side menu bar, you will now enter the “Account Setup Page” as shown below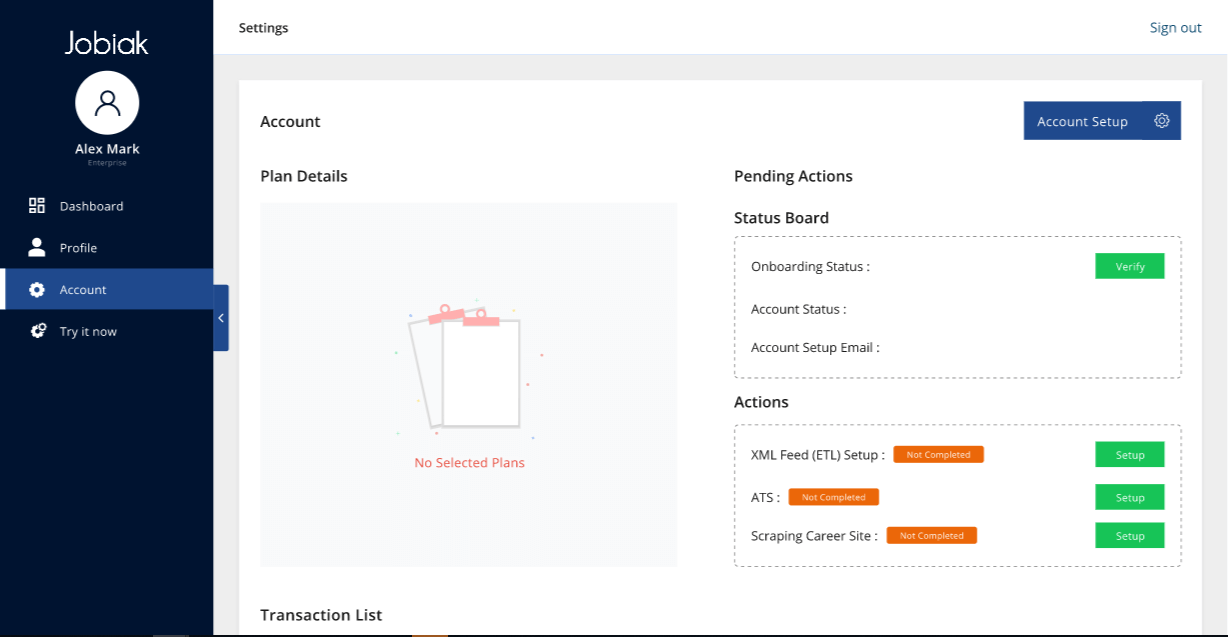
Please click on the “Account Setup” button at the top right corner on your screen to proceed further.
Basic Information
Here, you will be asked to select a pricing plan (if you haven’t already selected one). Choose a plan according to the total number of active jobs you anticipate needing to post on Google as shown below
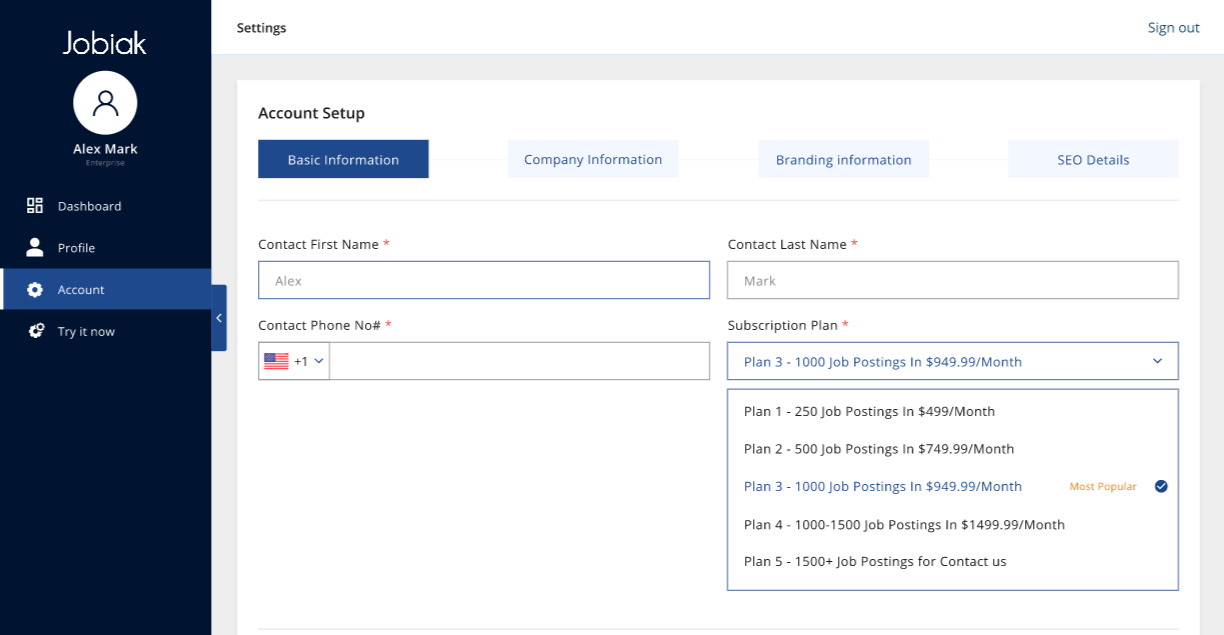
Once you select the plan details, you will be asked for company card details. We collect payment details to ensure a smoother billing & invoicing process in the future.
Note: You will not be charged unless your trial period of 1 month ends. You can always end your subscription whenever you want to before the trial ends.
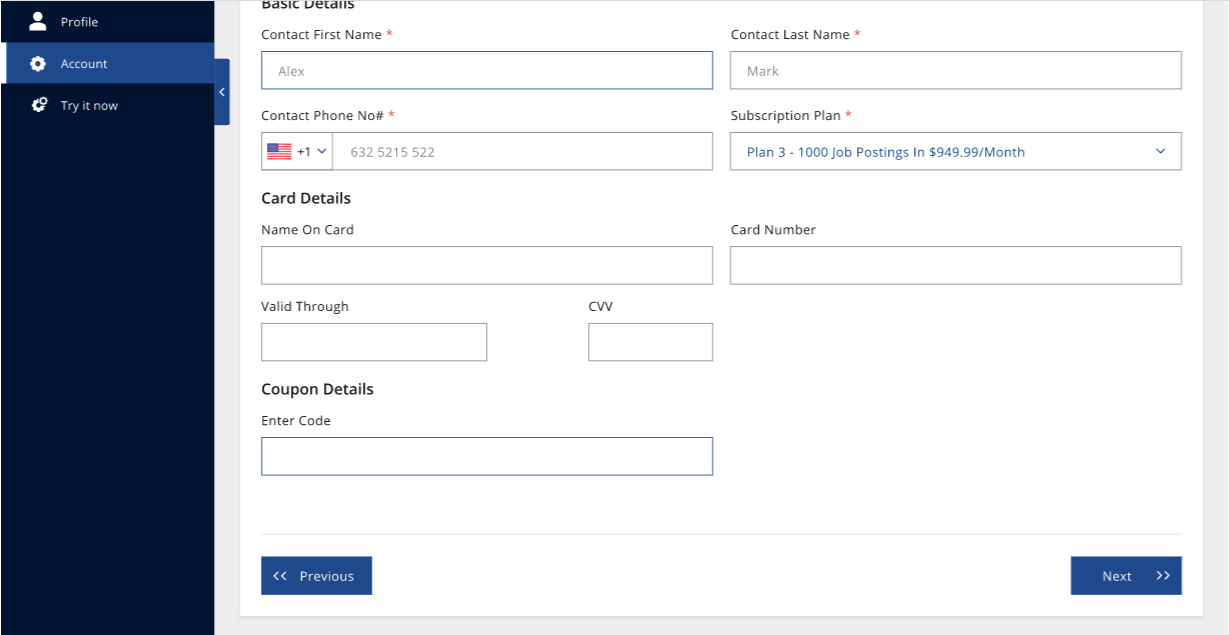
Note: You can, at any time, upgrade or downgrade your plan to accommodate a different number of active jobs.
Once you’ve selected a plan, click ‘Next’.
Company Information
On this page, you will be populating company details that are necessary/directly related to posting your jobs on Google. It is for this reason that it’s important you double-check to make sure the information is entirely accurate.
Note: Any mistakes on this page will be reflected on Google and will impact the visibility of your jobs.
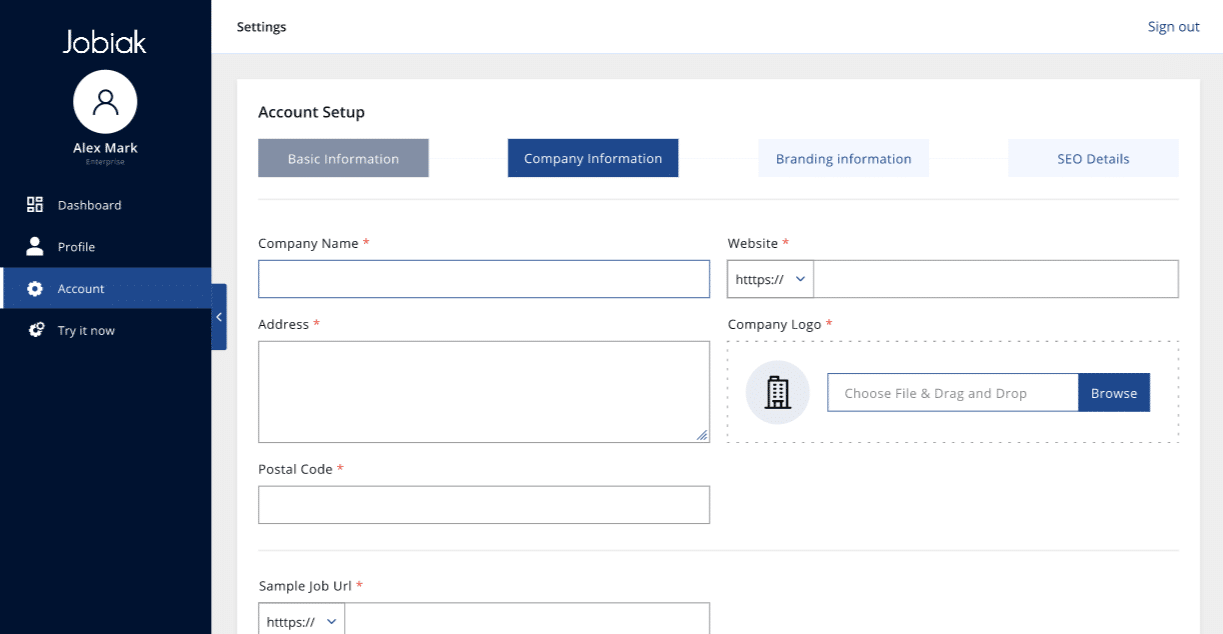
The following is a detailed description of each field:
- Company Name: Provide the company name with which you want your jobs on Google to be associated with
- Address: Provide the full address (Street + Street #, City, State/Province) to which your organization is registered
- Postal Code: Provide the postal code for the address above
- Company Logo: Attach your company’s logo in an aspect ratio of 100*100.
- Note: Google only recognizes logos with these dimensions
- Sample Job URL: Provide a sample job URL from the list of jobs that you intend to post and our system will analyze your domain and company feasibility for posting jobs on GFJ.
After completing these details, click ‘Next’.
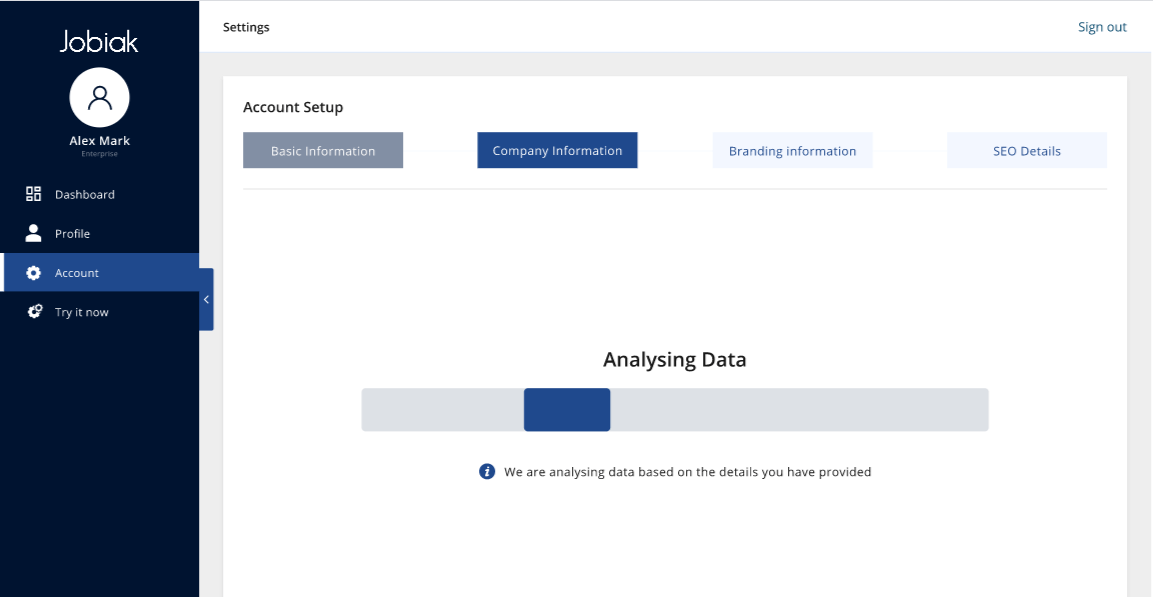
You will now see our system analyze the data which has been updated and company eligibility is shown on the screen. This is a prequel step that our system does to ensure your domain is in good health.
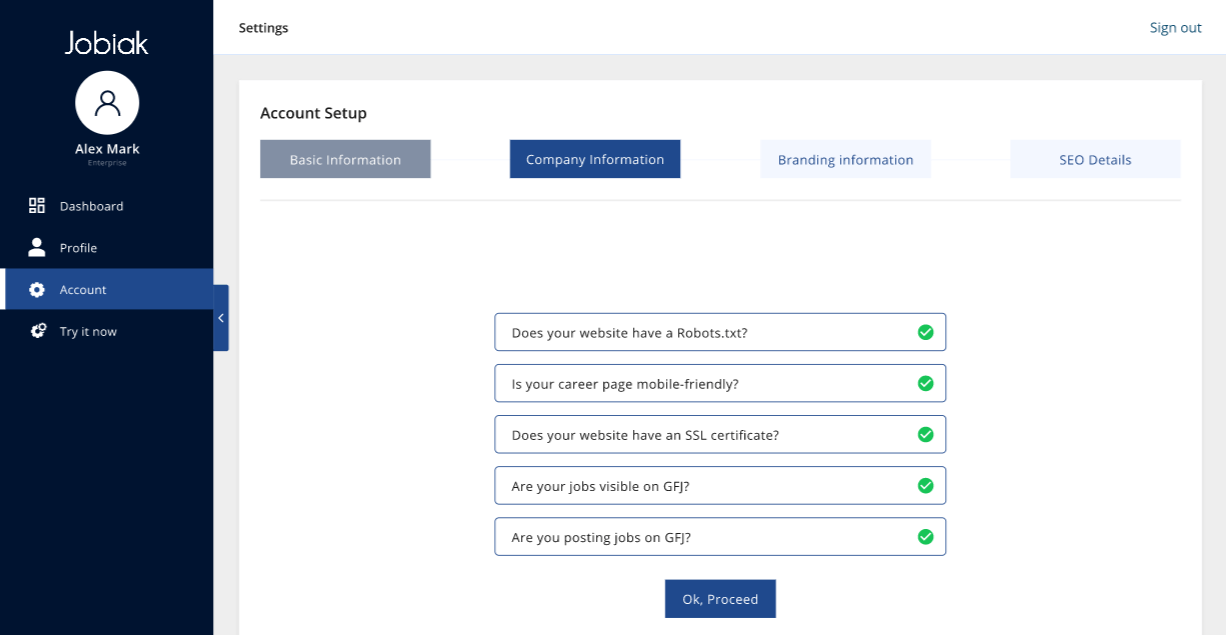
Once the company eligibility is analyzed, Jobiak system will show if there are any shortcomings which may or may not cause a problem during GFJ posting
Branding Information
The branding information page displays solutions we offer only to you: our enterprise customers.
Because we understand that different companies have different website configurations, we’ve worked hard to develop a variety of solutions that streamline and simplify the onboarding process for you.
You may select any of the following options that best suit your organizations’ needs (click on any of the options to learn more about them):
SEO Details
Note: This page is only pertinent to you if you have selected ‘File Upload’, ‘DNS A’, or ‘DNS B’ as your on-boarding method.
The fields that you populate on this page are vital in ensuring that your jobs are optimized and highly visible on Google.
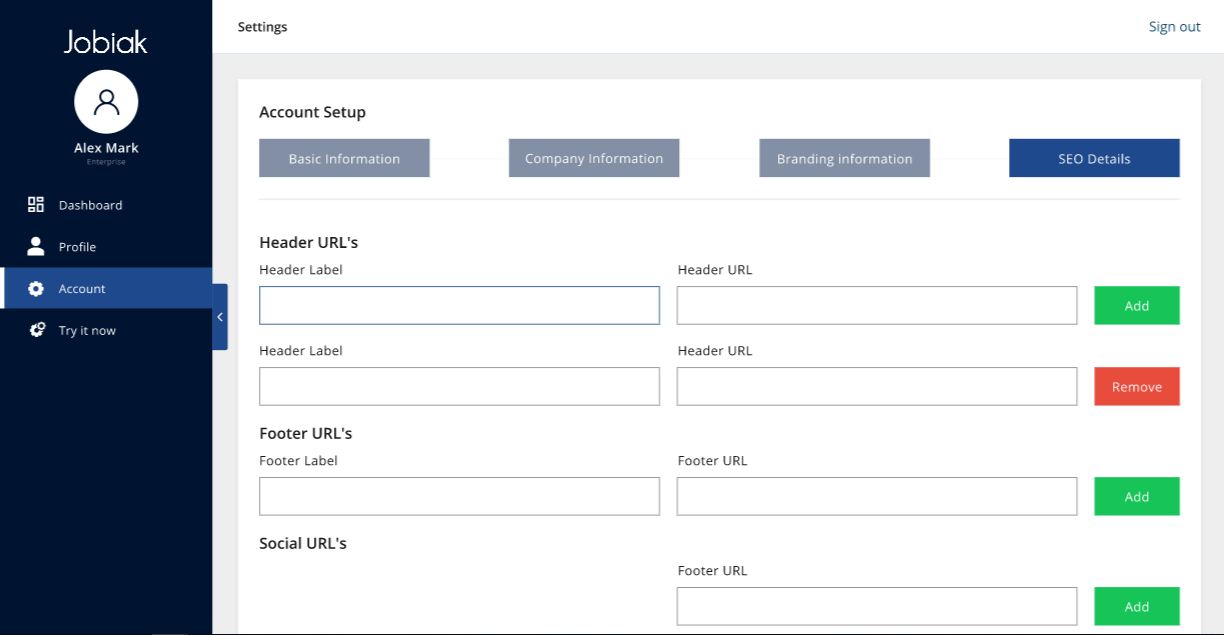
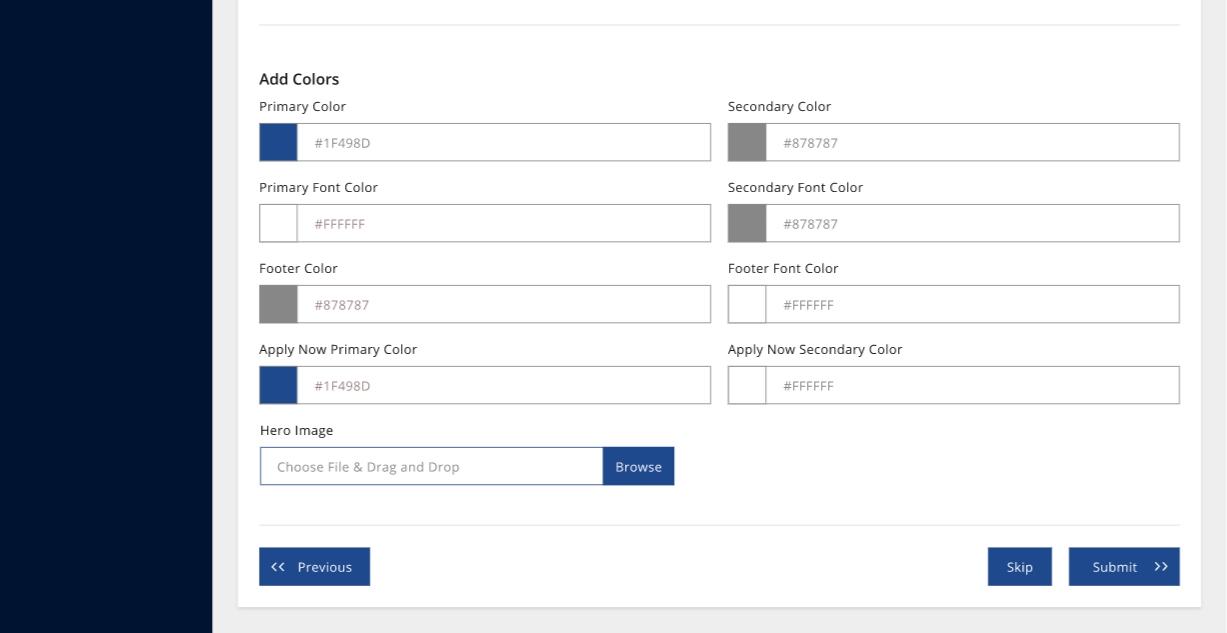
Once you have populated all the fields on the SEO details page, click ‘Next’ to proceed.
You’re Done!
Once we receive your information, you will receive a confirmation message (as shown below).
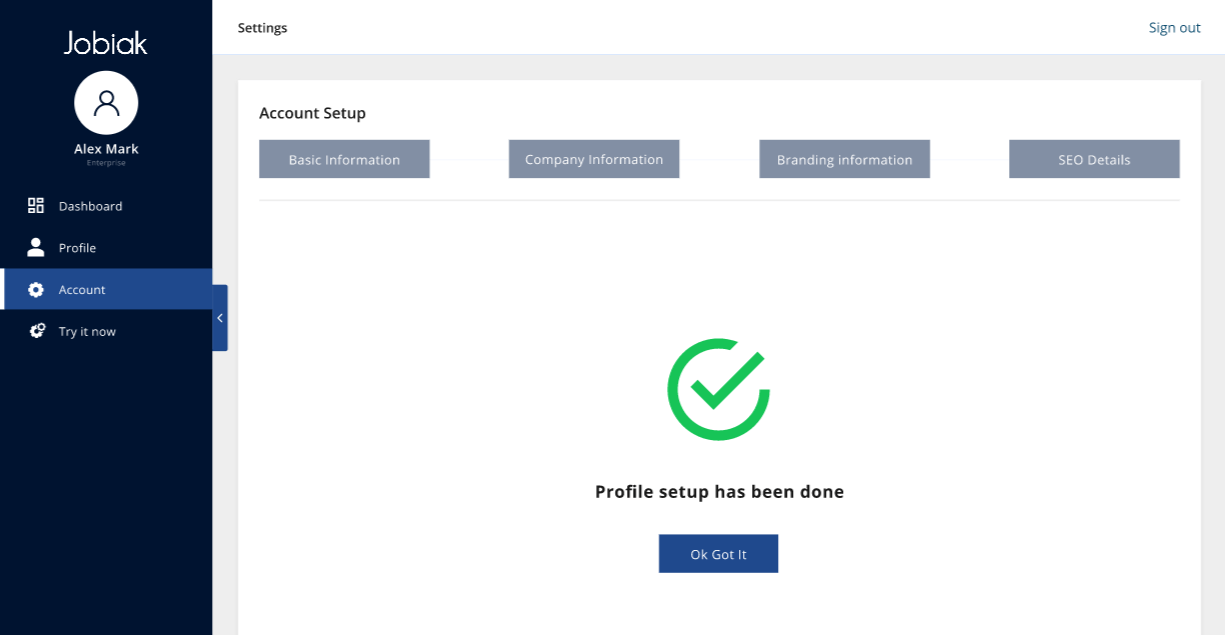
Now, you’re all set.
You will now be redirected to your “Account Setup” page where you will be able to see all the information provided by you as shown below.


To get started posting your jobs to Google, visit THIS PAGE.


